
Budget Information
Before we dive into all the delicious details, let’s talk budget! 🤑 Ensuring your cooking is not only tasty but also cost-effective is crucial, especially for us fabulous home chefs! Here’s a breakdown of the approximate cost for each ingredient in the Black Bean Brownies recipe:
- 1 can of black beans (15 oz): $1.50
- 1/2 cup unsweetened cocoa powder: $0.75
- 1/2 cup maple syrup: $2.00
- 1/2 cup natural almond or cashew butter: $3.00
- 1 tsp vanilla extract: $0.50
- 1/2 tsp baking powder: $0.25
- 1/2 tsp sea salt: $0.10
- 1/2 cup dark chocolate chips (optional): $2.50
When you add it all up, the estimated total cost for these delicious Black Bean Brownies comes to around $10.60! 🎉 With 12 generous servings, that’s less than $1 per brownie! These treats are wallet-friendly and use pantry staples—perfect for large families or budget-conscious cooks. You’ll be amazed at how something so scrumptious can be made without breaking the bank!

Why This Recipe Works 🍫✨👀
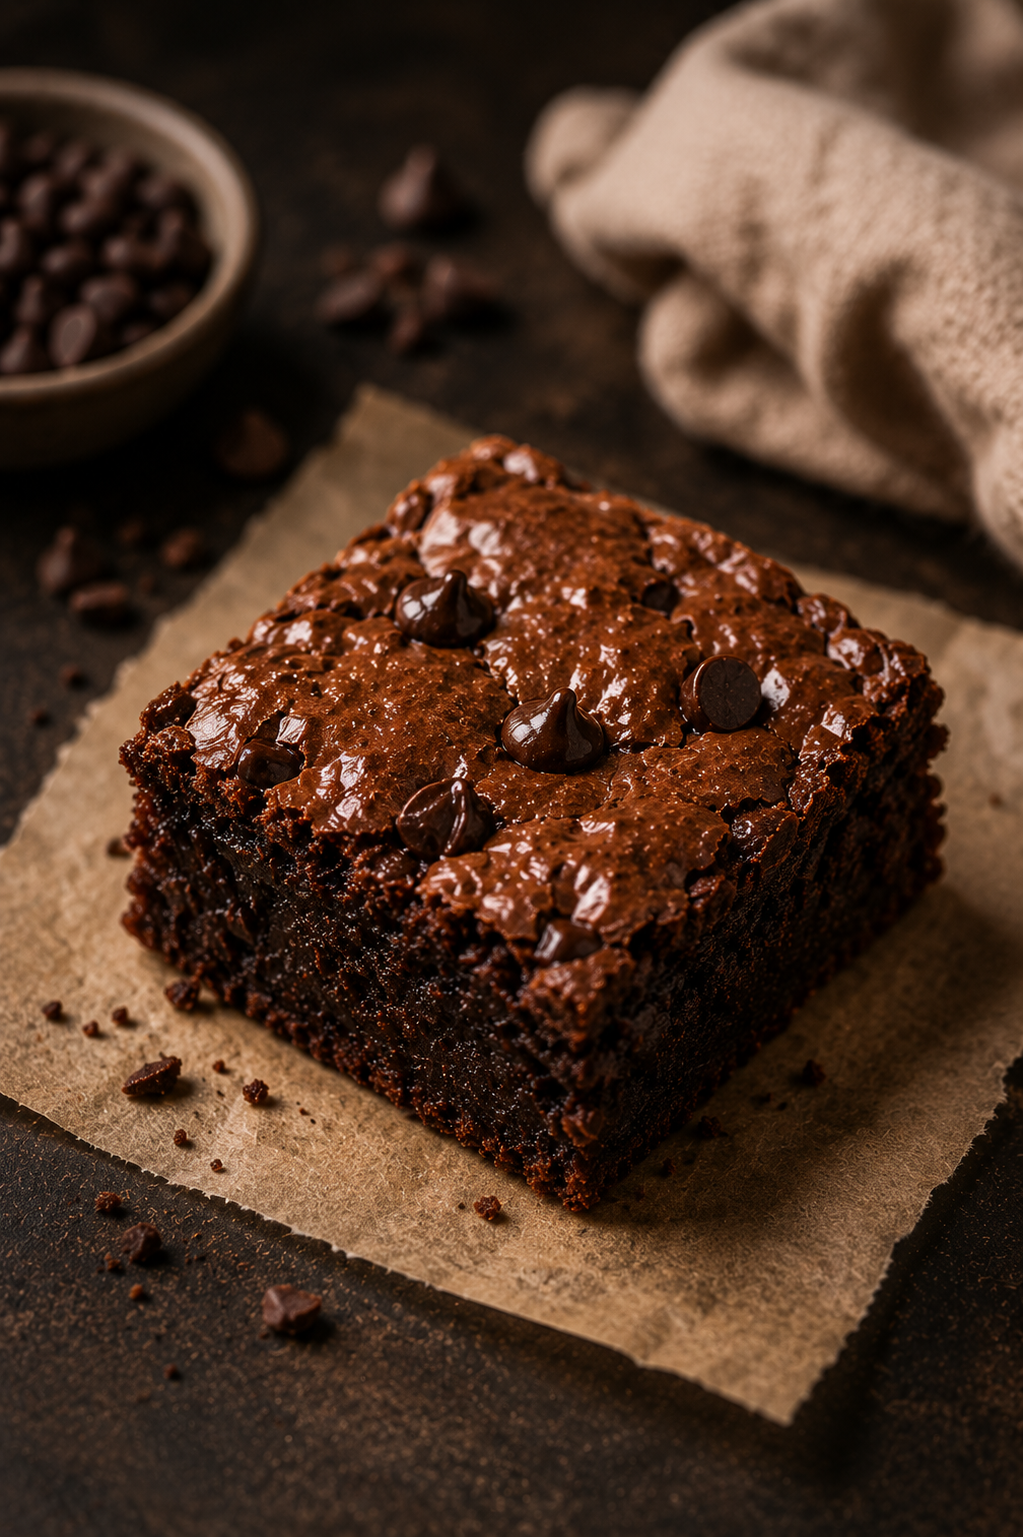
These Black Bean Brownies work because they somehow manage to taste like rich fudgy bakery-style brownies while secretly being packed with more wholesome ingredients 👀💅 Honestly… dessert catfishing in the BEST way.
First of all, the texture is EVERYTHING. The black beans create that ultra soft, moist, fudgy brownie center without needing traditional flour. The result? Brownies that feel rich, dense, and deeply chocolatey instead of dry or cakey 😭✨
And before anyone gets scared of the black beans — trust me, you genuinely don’t taste them. They basically disappear into the batter and just leave behind:
- moisture
- fiber
- extra protein
- and elite fudgy brownie energy 🍫
Another reason this recipe works so well? It’s ridiculously easy. Like genuinely lazy-girl baking approved.
You basically throw everything into a blender or food processor, blend until smooth, pour into the pan, and suddenly your kitchen smells like a cozy chocolate café ✨
No complicated baking skills. No fancy techniques. No stress.
The flavor payoff is also INSANE. The cocoa creates that rich deep chocolate flavor while the sweetener balances everything perfectly, making these brownies taste indulgent without being overwhelmingly sugary.
And honestly? The recipe is SUPER customizable:
- Add chocolate chips 🍫
- Swirl in peanut butter 👀
- Add walnuts for crunch
- Make them keto-friendly 💅
- Make them vegan ✨
- Add espresso powder for extra chocolate depth 😭
They’re also:
- gluten-free ✔️
- meal-prep friendly ✔️
- higher in fiber ✔️
- healthier than traditional brownies ✔️
- and still emotionally supportive dessert energy 👏
Basically these brownies work because they give full rich fudgy chocolate cravings satisfaction while still fitting into your healthy girl era 🍫💖
Equipment
Gather your fabulous kitchen tools to make finding everything a breeze! Be sure to have these handy before you start mixing up your brownie magic:
- Food processor or high-speed blender (for a smooth batter)
- Measuring cups and spoons
- Mixing bowl
- Spatula
- Baking pan (8×8-inch works perfectly!)
- Parchment paper (for easy removal)
- Oven mitts (safety first!)
- Knife (for cutting those yummy brownies)
- Cooling rack (if you want to let them cool properly)
With all your tools in place, let’s jump into the step-by-step instructions for creating these fabulous Black Bean Brownies!
Step-by-Step Recipe Instructions
Get ready to transform simple ingredients into something spectacular! Follow these detailed steps, and you’ll have your delicious brownies baked and ready to devour in no time!
-
Preheat your oven and prepare your pan
Start by preheating your oven to 350°F (175°C). 🏡 While the oven heats up, prepare your baking pan by lining it with parchment paper. This little trick helps prevent any stickiness, so your brownies come out effortlessly smooth and pretty! Just cut a piece of parchment that fits the bottom, leaving the sides hanging over for easy lifting later. Set aside, and let’s get blending! -
Blend that brownie batter
Now it’s time to combine our fabulous ingredients! In your food processor (or high-speed blender), add the rinsed black beans, cocoa powder, pure maple syrup, almond butter, vanilla extract, baking powder, and sea salt. 🔥 Blend on high until you achieve a smooth and creamy texture. You want it to be silky and luscious, with no visible chunks of beans—so keep blending! This step ensures that every bite is a chocolate dream.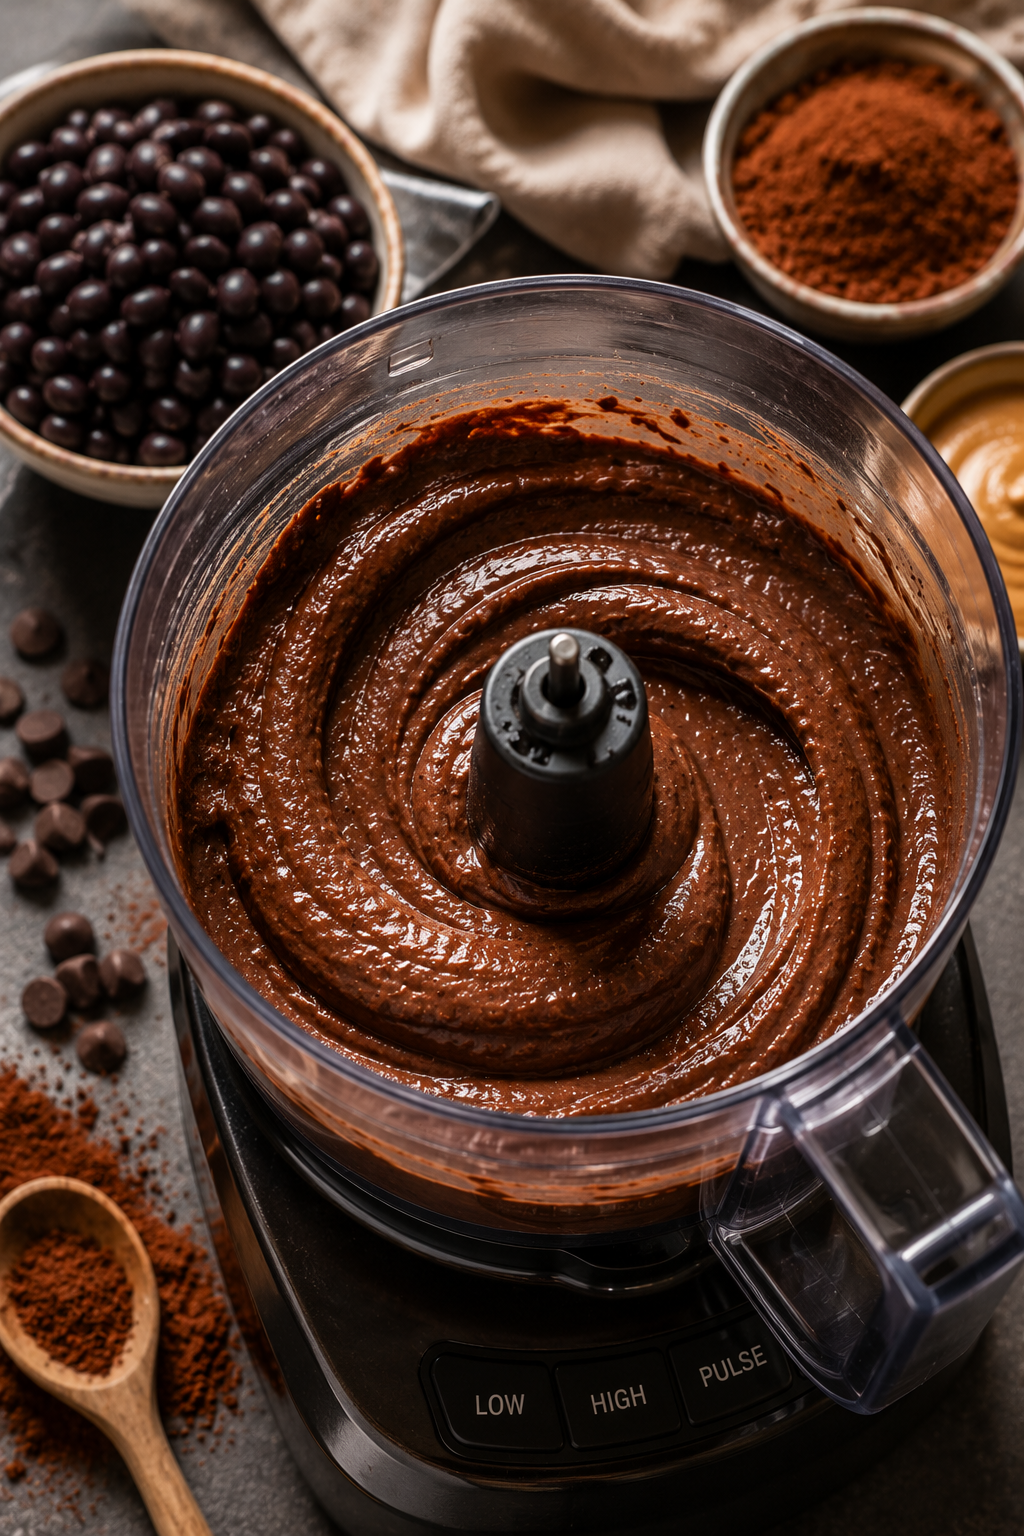
-
Fold in the chocolate chips
Once your mixture is blended to perfection, transfer it to a mixing bowl. If you’re using, add in the dark chocolate chips or any other mix-ins you fancy (like walnuts or chopped pecans). Gently fold in the chocolate chips with a spatula to ensure they’re evenly distributed throughout the batter. 🚀 Pro tip: If you’re a true chocoholic, feel free to reserve a few chips to sprinkle on top just before baking. This creates a gorgeous, melty appearance.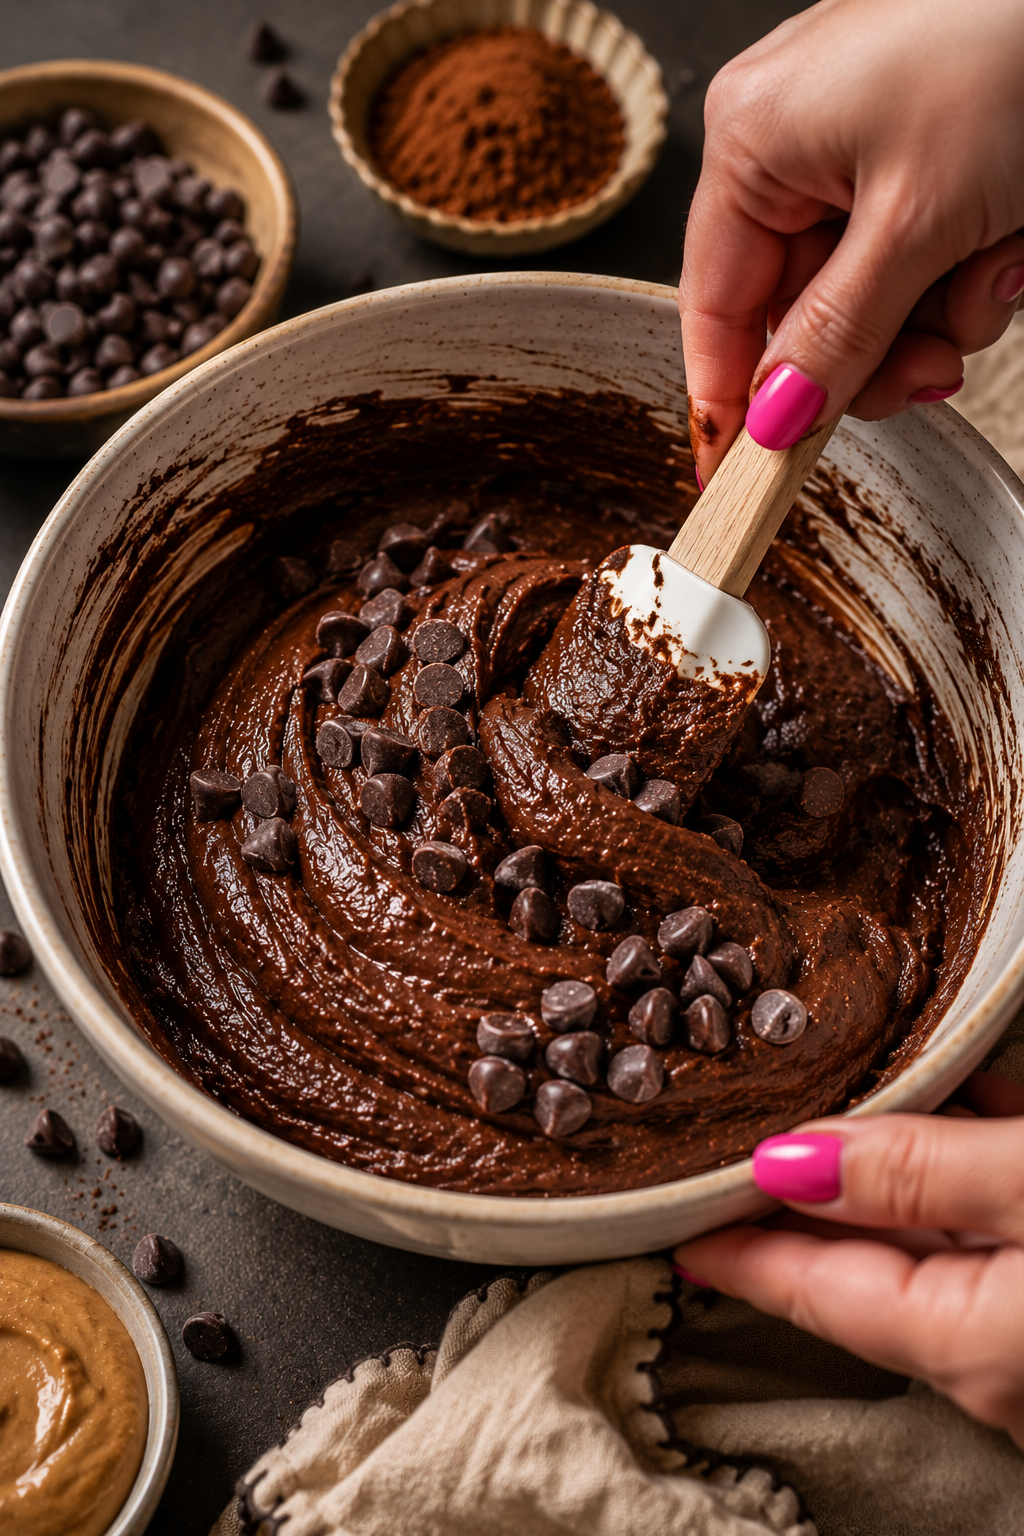
-
Spread the batter into your pan
Now carefully spread your brownie batter into the prepared baking pan. Use your spatula to evenly distribute the batter and smooth out the top. This ensures that your brownies bake evenly and develop that delightful crust. 🥄 Whenever the batter feels cohesive and even, it’s ready to go! Remember: The consistency should look thick and fudgy. 😉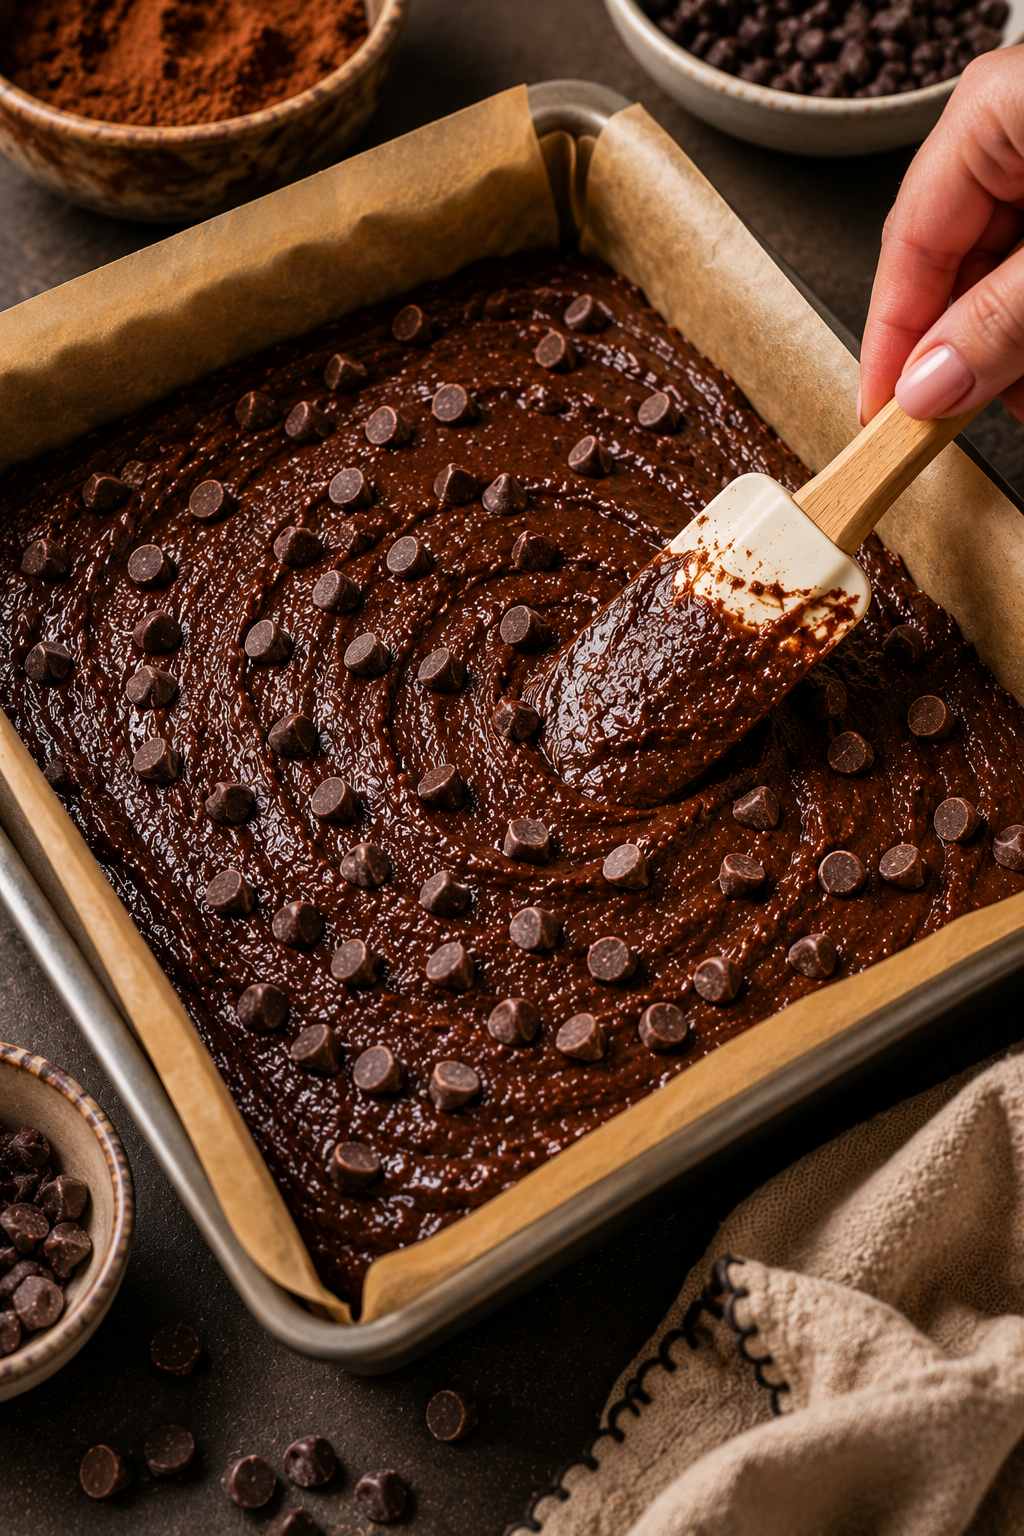
-
Bake and tantalize your senses
Pop your brownie-filled pan into the preheated oven and bake for about 25 to 30 minutes. You’ll know they’re done when the edges look set but have that alluring ‘softness’ in the center—don’t worry if they look slightly under-baked; that’s exactly what gives them that fabulous fudge-like texture! Just be warned: the irresistible aroma wafting from your oven may tempt you a little too soon. 🐶 -
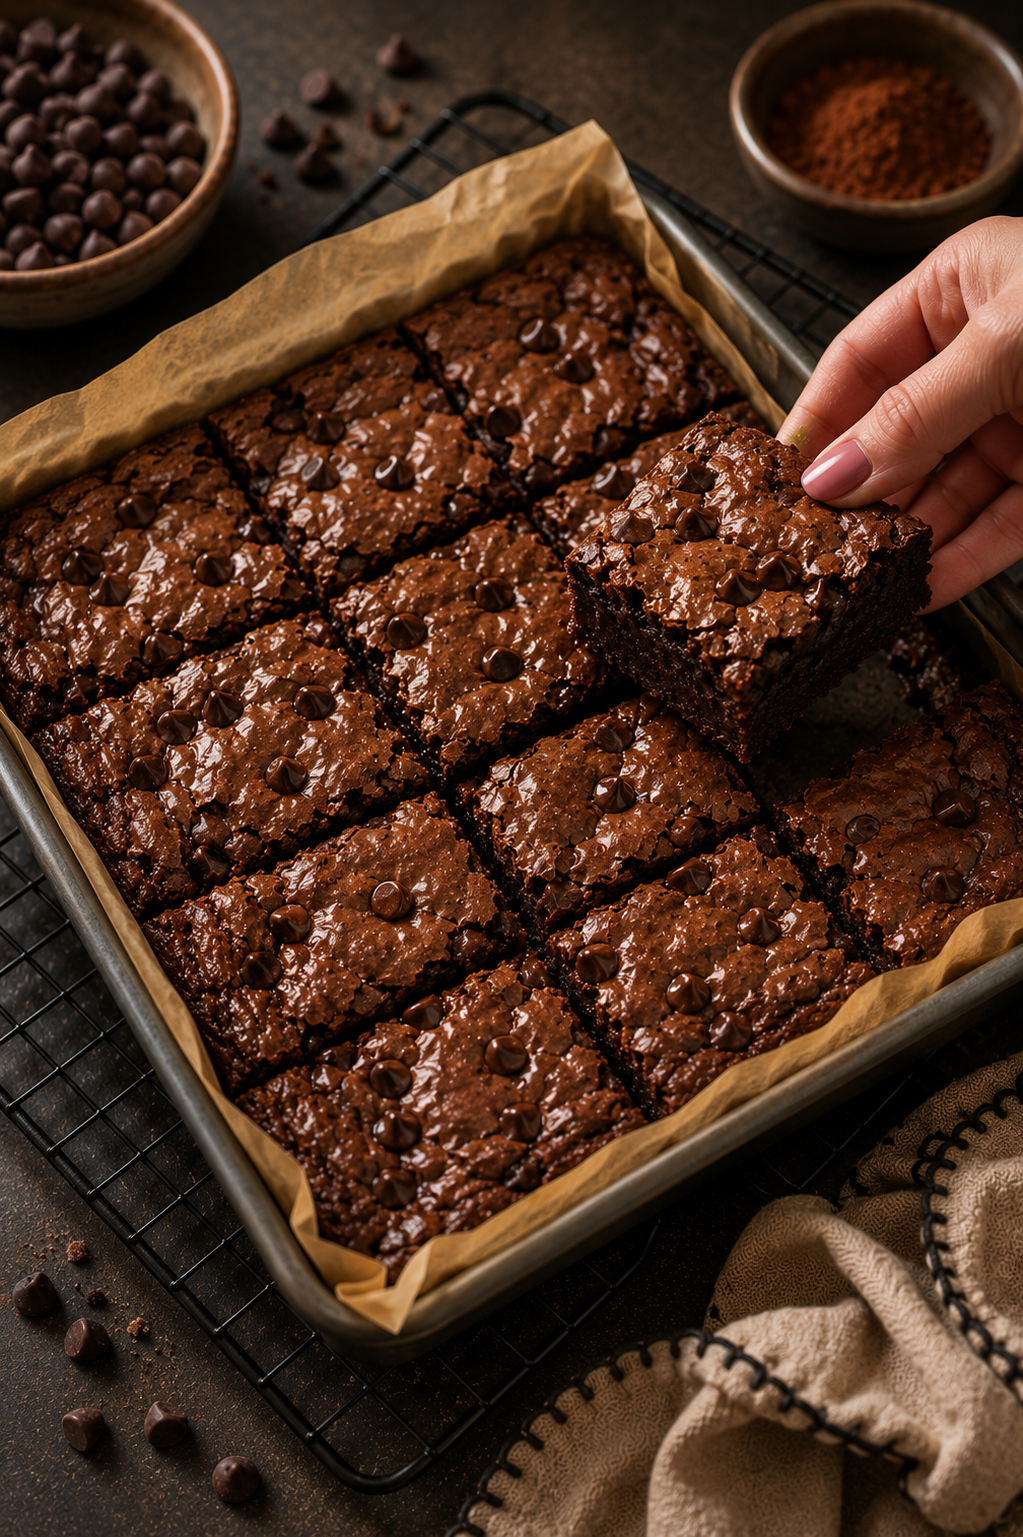
Cool and cut your brownies
Once you’ve pulled those divine brownies from the oven, allow them to cool in the pan for about 10 to 15 minutes. This is crucial because they’ll be easier to cut once cooled a bit! Grab those side parchment flaps and lift them out of the pan. Place them on a cutting board and let your brownies cool completely before slicing them into squares. It’s time to show off your magnificent baking skills! 👩🍳 A quick tip: if you want the perfect cut, wipe your knife with a clean damp cloth between each slice.
Cook Time:
Prep Time: 10 minutes
Cooking Time: 25-30 minutes
Total Time: 40 minutes
Nutritional Facts
Now, let’s chat nutrition! These guilt-free Black Bean Brownies not only taste amazing but offer some pretty impressive nutrition facts too. Each brownie (based on a recipe yielding 12 servings) contains approximately:
- Calories: 150
- Protein: 4g
- Carbohydrates: 22g
- Fat: 6g
- Fiber: 3g
- Sugar: 3g
- Sodium: 100mg
✨ Key dietary tags: Gluten-free, vegan, nut-free option available. Perfect for an indulgent treat that keeps you feeling fabulous without any guilt!
Storage and Reheating Tips
These brownies are so delicious that you’ll want to make sure they last! Here are the best storage and reheating tips to help keep them fresh:
- Fridge Duration: Store your Black Bean Brownies in an airtight container in the fridge for up to 1 week. Keeping them chilled helps retain moisture and flavor. ❄️
- Freezer-Safe: Yes! You can freeze your brownies. Simply cover the uncut brownies with foil or plastic wrap and freeze for up to 2 months. When ready to enjoy, let them thaw overnight in the fridge before indulging.
- Best Containers to Use: Use glass containers with tight-fitting lids or plastic wrap to ensure they stay fresh and delicious!
When it comes to reheating, you have options!
- Microwave: Simply pop a brownie on a microwave-safe plate and heat for about 10-15 seconds for a tasty warm treat.
- Oven: Preheat your oven to 350°F (175°C) and warm the brownies for about 5-10 minutes to bring back their fudgy goodness.
- Air Fryer: If you’re feeling fancy, place them in the air fryer set to 300°F (150°C) for about 3 minutes. This method gives them that signature gooey texture we all crave!
Reader Tips or Helpful Notes
Before you dash off to make these fabulous Black Bean Brownies, check out my top 10 tested tips to elevate your brownie experience:
- Use Fresh Ingredients: Always ensure your baking ingredients are fresh. Stale cocoa or nut butter can ruin the flavor!
- Add a Pinch of Espresso Powder: If you want to amplify the chocolate flavor, a tiny pinch of espresso powder does wonders—trust me!
- Don’t Overmix: Once you add the chocolate chips, just fold them in gently. Overmixing can make the brownies tough!
- Cool in the Pan: Allowing brownies to cool down in the pan helps them form a nice crust, making them easier to remove.
- Experiment with Sweeteners: If you’re watching sugar, try using a sugar substitute like erythritol or monk fruit to sweeten your brownies without the guilt.
- Check for Doneness: A toothpick should come out with a moist crumb, not wet batter. Overbaking will result in dry brownies—no thanks!
- Storing Leftovers: If you have any leftovers (doubtful, but just in case!), store them for maximum freshness and flavor by placing parchment paper between the layers.
- Chill for Best Flavor: Allowing brownies to chill in the fridge enhances the flavor and makes them even more fudge-like!
- Cutting Tip: For perfect cuts, run a knife under hot water, dry it, and then slice. This keeps the edges clean.
- Have Fun: Remember that baking is about trial and error—don’t stress! Enjoy experimenting and making this recipe your own!
Recipe FAQs
Here are some common questions I receive about the infamous Black Bean Brownies:
-
Can I substitute different beans?
Absolutely! Cannellini or navy beans can work as substitutes, but the flavor and texture will slightly differ. -
What if I don’t have a food processor?
You can use a regular blender! Just make sure to blend until completely smooth, or substitute rolled oats for oat flour, keeping it easy! -
Are these brownies gluten-free?
Yes! This recipe uses no flour at all, making it perfect for gluten-sensitive friends and family! -
How do I know when they’re done?
Check for soft edges and a slightly set center. A toothpick should come out with a few moist crumbs—perfectly fudgy! -
Can I make them ahead of time?
Yes! The brownies stay fresh for a week in the fridge or can be frozen for up to two months—great for meal prepping! -
Will they taste like beans?
Not at all! When blended properly, the flavor of black beans is completely masked by the chocolate—which is what we want, right?
Printable Recipe Card
Want just the essential recipe details without scrolling through the article? Get our printable recipe card with just the ingredients and instructions.


Comments