Table of Contents
Introduction
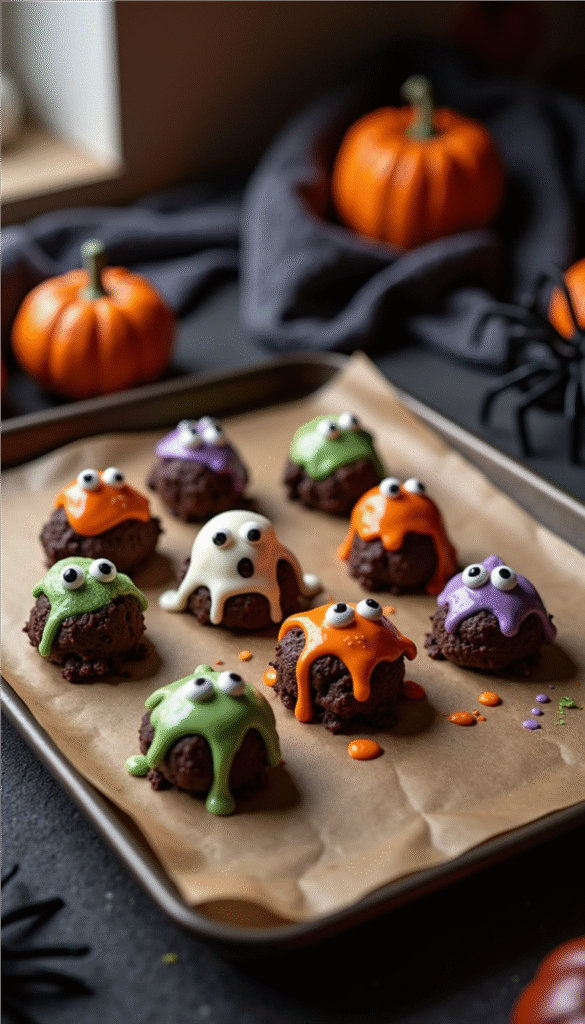
Welcome to a realm where culinary magic meets spooky delight—a place where the kitchen transforms into a playground of eerie fun during Halloween! If you’re looking for the perfect treat to surprise your ghoulish guests or to bring a festive spirit to your party, you’ve come to the right place. Today, we’re diving into the recipe for homemade Halloween treats that promise to bring some spooky charm to your celebration. Think of delicious, creepy-crawly, fun-to-make goodies that are just as delightful to create as they are to eat. These treats offer the perfect blend of whimsical fun and culinary satisfaction that both kids and adults will adore.
Imagine the aroma of melted chocolate and the crunch of various toppings: a harmony of textures and flavors comes alive in these Halloween treats, making them an irresistible choice for any spooky occasion. Traditionally, Halloween is a festival dedicated to all things eerie and enchanting, celebrated with loads of candies and playful tricks. It’s the season to embrace creativity, with dishes that tell stories of ghosts and witches, serving as marvelous centerpieces at Halloween gatherings. This particular recipe will ensure your Halloween treats not only dazzle the eye but tantalize the taste buds as well!
The best part is, these homemade Halloween treats are crafted to be approachable for all skill levels, so you won’t need to be a kitchen witch to master them! Whether you’re planning a quiet family night or a grand Halloween bash, crafting these treats will add a perfect pinch of magic to your celebrations. Grab your cauldrons, and let’s get ready to brew some culinary enchantments that will have your family and friends howling for more of these delightful Halloween treats!
Why You’ll Love this Recipe
These Halloween treats are fantastic for numerous reasons! First, they are incredibly easy to make, meaning you won’t have to spend an eternity in the kitchen stirring cauldrons and fiddling with fussy ingredients. They’re ideal for bringing a bit of festive flair to your events without excessive effort. Moreover, the flexibility within the recipe allows you to get super creative—customizing each treat to suit your personal taste or dietary preferences. Whether you’re craving rich decadence with chocolatey goodness or prefer a lighter, zesty twist, this recipe gives you room to experiment!
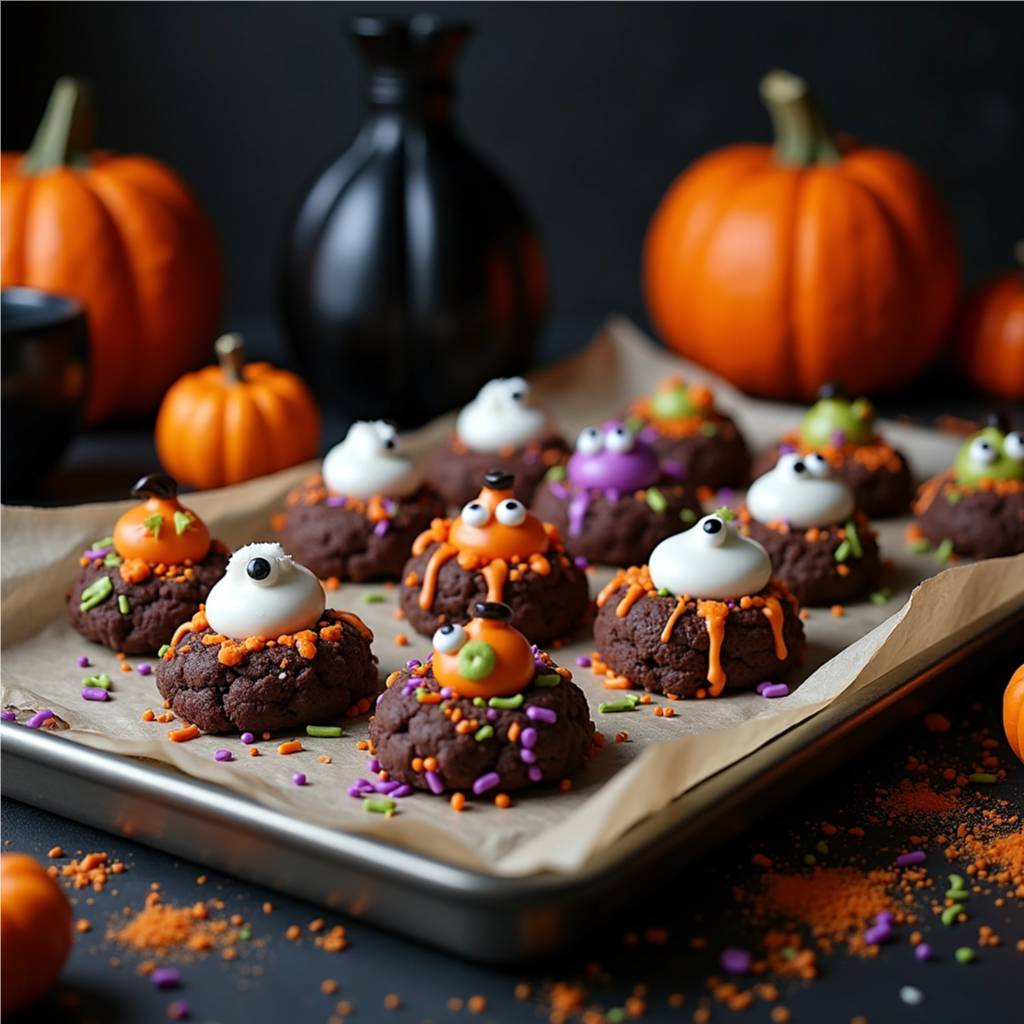
The treats are inclusive and family-friendly, providing an excellent way to engage kids in the baking process. Imaginations can run wild as they create spooky spiders, quirky pumpkins, or whatever creepy treats they fancy. Additionally, you’ll find that these treats have a strong flavor payoff, capturing the essence of Halloween in every bite. For those mindful of dietary concerns or seeking healthier options, these treats can easily be adapted to fit your nutritional needs without compromising on flavor.
Budget Information
Crafting these scrumptious Halloween goodies doesn’t mean you need to bust your budget. Truly an economical choice, most ingredients involved are pantry staples or can be comfortably nabbed during your regular grocery run. For instance, a typical list might include:
- Chocolate (melted): $3
- Crushed cookies or pretzels: $2
- Food coloring: $1.50
- Sugar decorations or sprinkles: $2.50
- Rice cereal or popcorn: $1.50
- Mini marshmallows: $1
In total, you’re investing around $11 to delight an audience with a whole batch of treats which are not only budget-friendly but generous in servings, ensuring everyone gets a taste of the Halloween magic without feeling fright at the grocery bill.
Why This Recipe Works
This Halloween treats recipe is a guaranteed crowd-pleaser thanks to its ease, flexibility, and delightful final product that brings out strong flavor on all fronts. The recipe is crafted to facilitate effortless baking, with clear instructions ensuring even the novice bakers can whip up a spectacular spread of spooky delights. Moreover, it invites creativity with substitution options or extras which you and your children can dive into, forging your personalized versions of these hauntingly tasty treats.
The blend of textures from crisp bases and silky toppings caters to diverse palates, ensuring that these snacks tick all the flavorful boxes—sweet, salty, crunchy, and gooey. Moreover, they can be made healthier by using whole ingredients or lessening sugars, still with the same amazing results. For the health-conscious or those with dietary needs, rest assured there’s room to tweak it in favor of a more wholesome meal, making these treats accessible to everyone.
Ingredients + Optional Substitutions
-
400 grams of chocolate, melted (dark or milk chocolate)
Substitution: white chocolate with coloring for fun variations. -
2 cups crushed cookies or pretzels
Substitution: granola, rice cakes for a gluten-free version. -
Assorted food coloring
Optional for visual flair. -
1 cup sugar decorations or sprinkles
Substitution: chopped nuts or dried fruits. -
3 cups rice cereal or popcorn
Substitution: quinoa pops or puffed grains. -
1 cup mini marshmallows
Optional but adds gooey delight.
Equipment
- A double boiler or microwave-safe bowl
- Mixing bowls of varying sizes
- Baking sheet lined with parchment paper
- Mixing spoons and spatula
- Measuring cups and spoons
- Food-safe gloves (optional for decorating)
Step-by-Step Recipe Instructions
Yield: 20 treats
-
Prepare Ingredients: Start by gathering all your ingredients and equipment—preparation is key to ensuring the process runs smoothly. Break your chocolate into pieces and place them either in a double boiler or a microwave-safe bowl. Get your toppings ready in separate bowls for easy assembly later.
-
Melt the Chocolate: If using a double boiler, melt the chocolate slowly over medium heat, stirring constantly until smooth. If microwaving, heat in 30-second intervals, stirring between each round to ensure even melting. Your chocolate should be glossy and smooth, showcasing that readiness, equivalent to about 3–4 minutes in total.
-
Mix the Treat Base: In a large bowl, combine your chosen crispy elements—rice cereal, crushed cookies, or pretzels. Pour over the melted chocolate gradually while gently mixing to ensure everything is well-coated. Ensure the gooeyness from the marshmallows, if using them, becomes part of the delicious chaos.
-
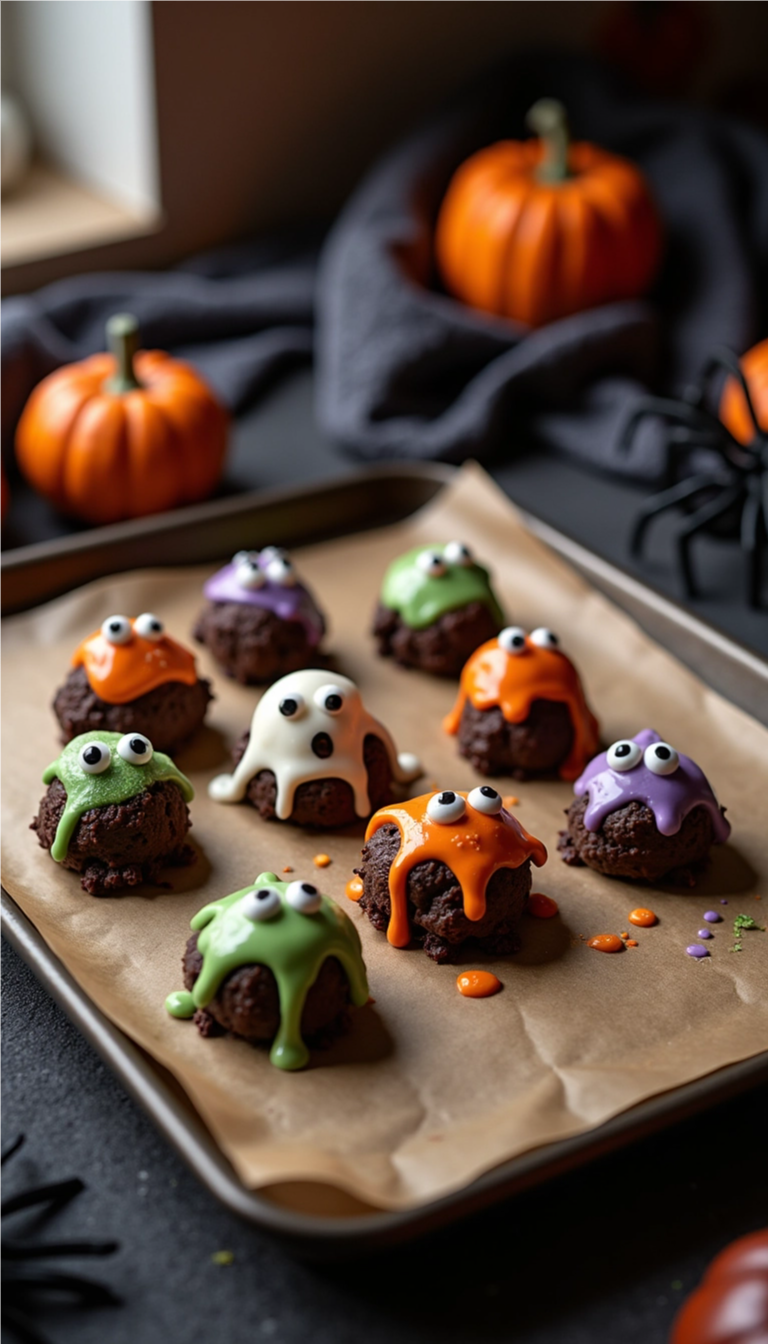
Shape and Chill Treats: With your hands, form the mixture into desired spooky shapes—ghosts, pumpkins, or simple clusters if pressed for time. Lay these forms on parchment-lined baking sheets.
-
Decorate with Ghoulish Flair: Now, it’s time to let your inner artist run wild! Color your chocolate with food coloring or adorn your treats using sprinkles, nuts, or any edible accents that suit your style. Ensure decorations are gently pressed into the chocolate surface.
-
Set and Serve: Allow your artworks to set in the refrigerator for about 30 minutes, hardening into their fabulous, bite-sized form. Finally, gather everyone around and indulge in the tasty treats you’ve created, celebrating the very spirit of Halloween!
Prep Time: 15 minutes
Cooking Time: 5 minutes
Total Time: 50 minutes
Nutritional Facts
For those watching their indulgence, here’s an approximate breakdown per serving:
- Calories: 180
- Protein: 3g
- Carbohydrates: 22g
- Fat: 9g
- Fiber: 1g
- Sugar: 14g
- Sodium: 95mg
Dietary Tags: Vegetarian
Storage and Reheating Tips
- Storage: Keep your spooky treats in an airtight container to maintain freshness. They can stay delectable in the fridge for up to one week.
- Can You Freeze Them? Absolutely! Place individual treats in a freezer-safe bag; they’ll last up to 3 months. Thaw in the fridge before serving.
- Best Containers: Use airtight containers or vacuum-sealed bags to preserve flavor and crunch.
- Reheating: No need for reheating as these treats are ideally served cold or at room temperature to keep their fantastic texture intact!
Serving Suggestions
Serve these Halloween treats cold, taking them straight out of the refrigerator. Pair them alongside savory snacks to balance the sweetness, perhaps offering warm apple cider or a spooky Halloween punch for a perfect, festive ensemble. Get creative with serving plates, using decorative Halloween-themed trays and add-ons like plastic spiders or themed napkins to up the festivity factor.
Reader Tips or Helpful Notes
- Shortcuts: Use pre-crushed cookies for a quicker prep time.
- Ingredient Upgrades: Add a teaspoon of vanilla extract for a flavor boost.
- What to Avoid: Be careful with overheating chocolate—it can seize and become grainy.
- Tools: A high-quality spatula makes mixing easy.
- Storage Hacks: Stack with parchment paper layers to prevent sticking.
- Flavor Boosts: Try adding spices like cinnamon for warmer notes.
- What to Avoid: Don’t add too much liquid color—could alter the consistency.
- Designing Tips: Food-safe gloves help in shaping and decorating sequences.
- Texture Additions: Mix in soft gummy worms to surprise little ones.
- Common Mistakes: Letting the chocolate cool too much will make forming shapes difficult.
Recipe FAQs
Which type of chocolate works best for this recipe?
Both dark and milk chocolate work well; choose based on your sweetness preference.
Can I make these treats vegan?
Absolutely! Substitute with vegan chocolate and marshmallows.
How can I make them gluten-free?
Opt for gluten-free rice cereal and pretzels or make homemade gluten-free cookies.
What’s the best method for melting chocolate?
A double boiler is the safest, slowest method ensuring smooth, lush chocolate, while microwaving is fast but needs careful monitoring.
Can I use this recipe for other holidays?
Yes, simply switch out decorations and color themes to match any festive occasion.
What’s the best way to transport these treats?
Use a tin container with paper liners to prevent them from sliding while carrying.
Conclusion
As the darkening nights of Halloween approach, the opportunity to spark enchantment and culinary fun in your kitchen is a prospect too delightful to miss. With these irresistible Halloween treats, you’ll be setting the stage for a memorable holiday feast that levels up your party game. They promise not only a parade of eerie artistry but a taste that invites even the pickiest eaters to join the celebration.
I’d love to hear from you—how did your spooky culinary adventure unfold? Don’t forget to snap some pictures of your hauntingly beautiful creations and share them with us on social media. If you have any questions, ask away! Let’s make this Halloween an unforgettable tale of treats and fun for everyone. Time to don your chef’s hat and let the magic begin in your very own kitchen! 🌟
Printable Recipe Card
Want just the essential recipe details without scrolling through the article? Get our printable recipe card with just the ingredients and instructions.


Comments