Table of Contents
Introduction
Let’s be real: when that craving for ultra-crispy, juicy, flavor-blasted fried chicken hits—nothing else compares. But what if I told you that you could satisfy every single craving without a shred of meat or dairy involved? Yep, this vegan fried chicken recipe is a total game-changer. It’s crunchy, it’s golden, it’s ridiculously satisfying… and trust me, it’s giving Popeyes a run for their money.
This recipe is all about bold Southern-inspired spices, an addictive crunchy coating, and the kind of juicy, meaty texture you didn’t think was possible without chicken. Whether you’re plant-based full time, flexitarian, or just dabbling in Meatless Mondays, this vegan fried chicken is going to be your new obsession.
It’s perfect for cozy weeknight dinners, indulgent weekend comfort food, or impressing your most skeptical carnivore friends. Pair it with waffles for a brunch moment, or serve it with slaw and pickles for the ultimate vegan chicken sandwich. However you plate it, one thing is guaranteed: no one’s going to believe it’s vegan.
Budget Information
This entire recipe costs about $8–12 total, depending on what you have on hand. Here’s why it’s budget-friendly:
- Most ingredients are pantry staples (hello, flour and spices).
- King oyster mushrooms or tofu are affordable meat substitutes.
- Makes 4 hearty servings, great for families or meal prep.
- No fancy vegan specialty products required!
You’ll spend less than half of what you’d pay for a fried chicken combo meal—and walk away feeling 10x better.
Why This Recipe Works
There are a lot of vegan fried chicken recipes floating around, but this one hits different. Why? Because it nails every single element:
- Texture: Thanks to mushrooms or tofu + a double dredge method, the inside stays juicy while the outside gets ridiculously crispy.
- Flavor-packed batter: We’re not just seasoning the flour—we’re flavoring every layer, including a vegan buttermilk soak.
- Foolproof: No weird ingredients, just smart cooking and layering of flavor.
- Versatile: Air fry it, deep fry it, bake it—your choice!
- Dairy-free, egg-free, meat-free… but you’d never know.
This is the kind of recipe you’ll crave on repeat. And yes, it reheats beautifully. 👀
Ingredients + Optional Substitutions
Here’s everything you need for the crispiest vegan fried chicken ever:
- 2 cups oyster mushrooms (or use tofu, seitan, or soy curls)
- 1 cup unsweetened plant milk (oat, soy, or almond work great)
- 1 tbsp apple cider vinegar (to make “buttermilk”)
- 1 tsp hot sauce (optional, but adds kick)
- 1 ½ cups all-purpose flour
- ½ cup cornstarch (for extra crunch)
- 1 tsp baking powder
- 1 tbsp garlic powder
- 1 tbsp onion powder
- 1 tsp smoked paprika
- ½ tsp cayenne pepper (adjust to heat level)
- 2 tsp salt
- 1 tsp black pepper
- Neutral oil for frying (like canola, avocado, or sunflower)
Optional Garnish:
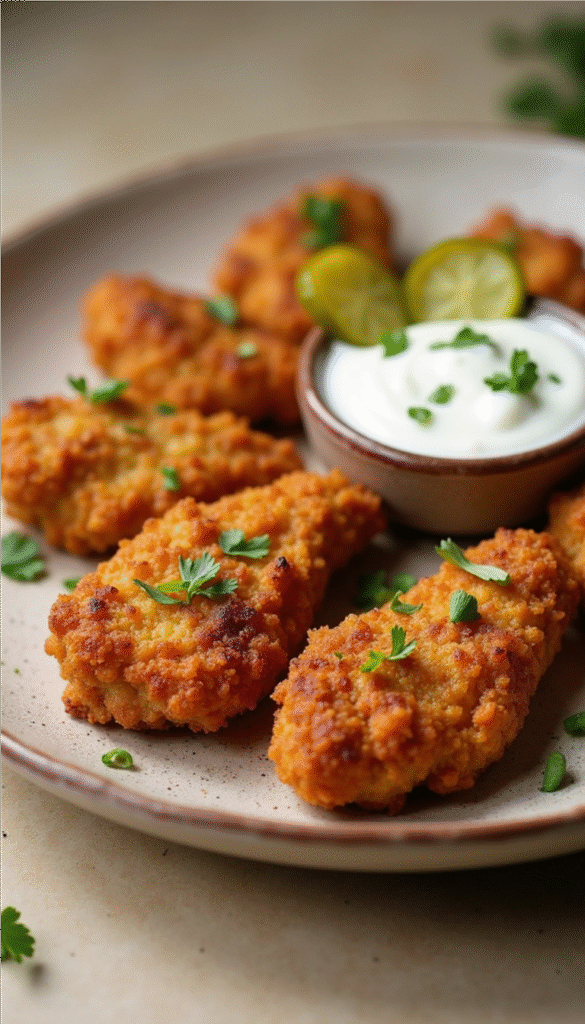
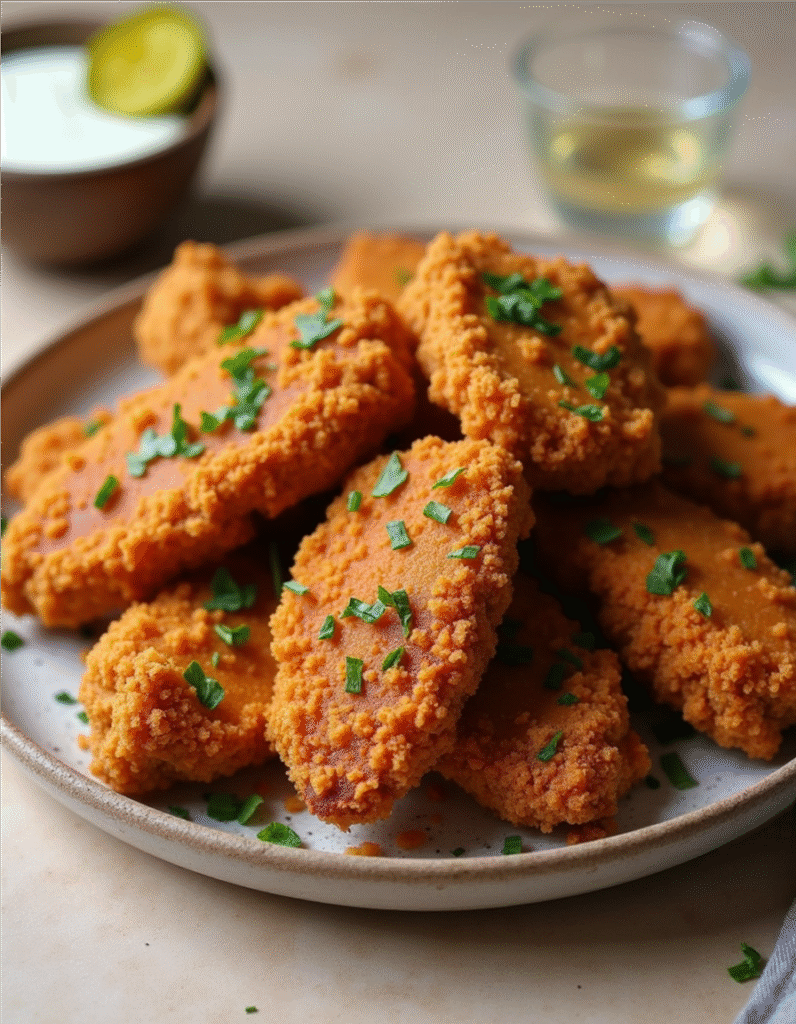
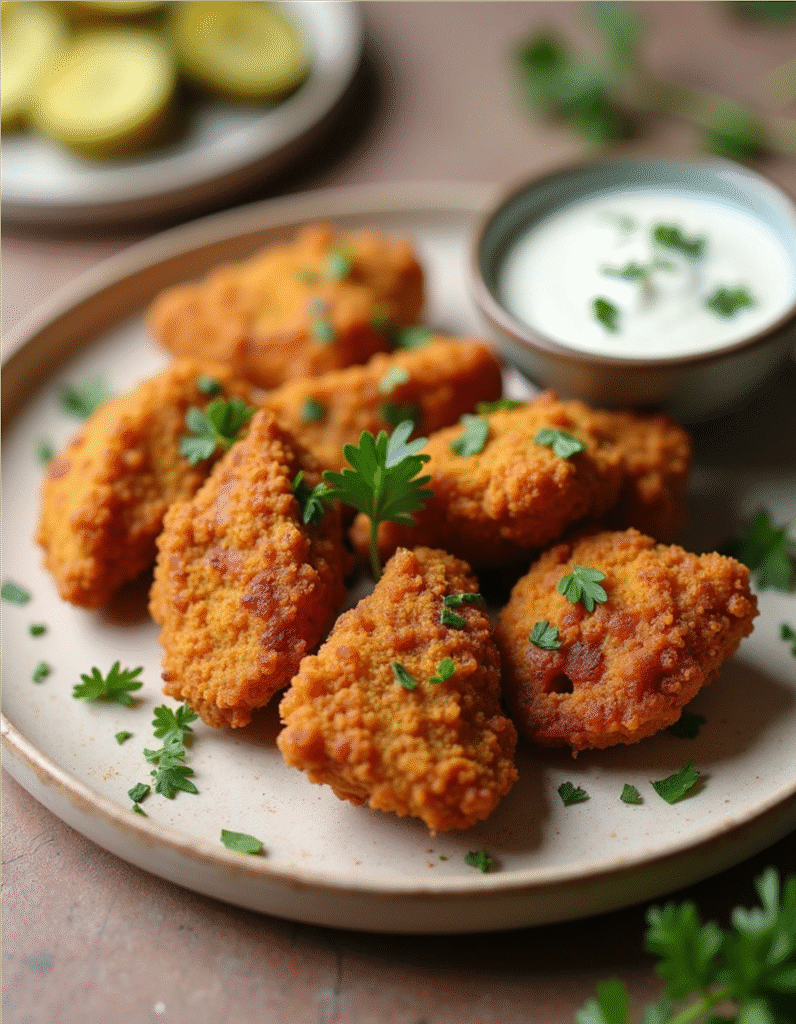
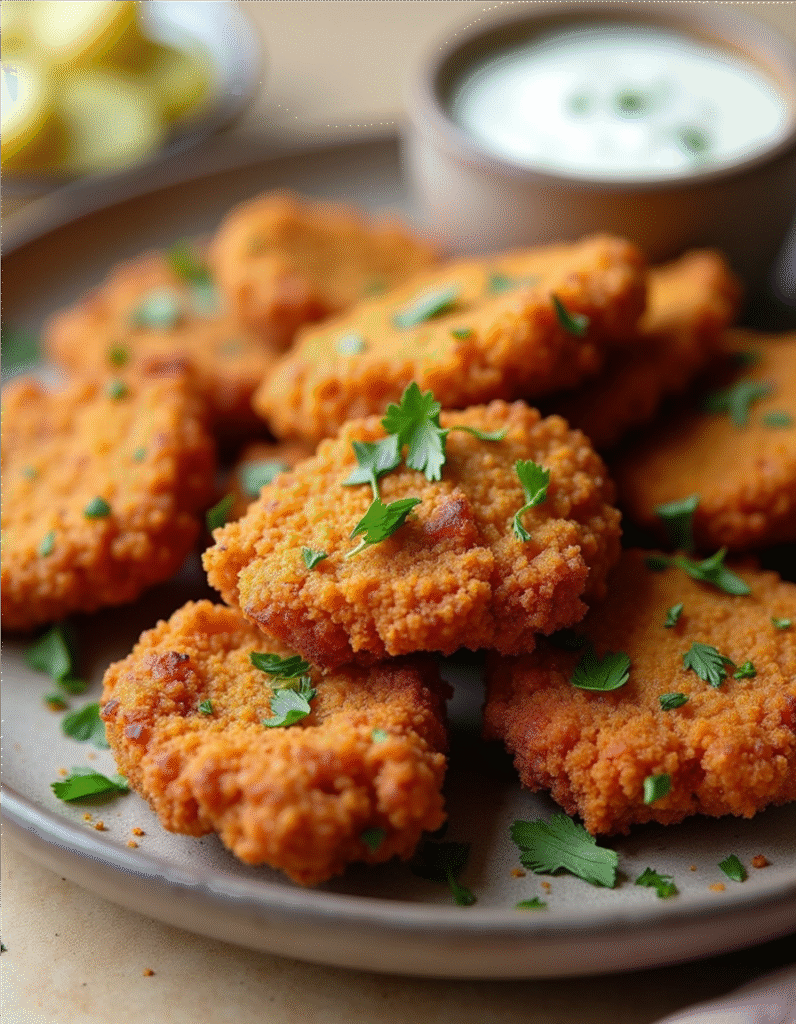
- Fresh chopped parsley
- Vegan ranch or hot honey drizzle (veganized!)
Equipment
You’ll need:
- Mixing bowls (at least 2)
- Deep frying pan or Dutch oven
- Slotted spoon or spider skimmer
- Tongs
- Paper towels + cooling rack
- Measuring cups and spoons
- Thermometer (optional but helpful for oil temp)
Step-by-Step Recipe Instructions
Yield: 4 servings (12–16 pieces of vegan fried chicken)
Before Step 1: Prepping Your Tofu (Optional but Recommended)
If you’re using tofu instead of mushrooms, freeze it the night before, then fully thaw and press it before marinating. Freezing tofu changes its texture—making it more porous and chewy, almost like chicken! After thawing, gently squeeze out the excess liquid with a tofu press or by wrapping it in a clean towel and placing something heavy on top for 15–30 minutes.
💡 Pro tip: Frozen-then-thawed tofu absorbs the marinade WAY better and gives that irresistible meaty texture we’re after.
1. Prep the Vegan Buttermilk Marinade
In a medium bowl, whisk together your plant milk, vinegar, and hot sauce. Let it sit for 5 minutes to curdle slightly. This is your vegan “buttermilk” base—tangy and perfect for tenderizing the mushrooms or tofu.
💡 Pro tip: The longer you marinate, the better. Even 30 minutes makes a difference, but 2–3 hours? Chef’s kiss.
2. Prepare the “Chicken”
If using mushrooms, slice thick pieces of king oyster or shred them slightly for “pull-apart” texture. If using tofu, press it well to remove moisture and slice into nuggets or cutlets. Add to the buttermilk and let soak.
3. Make the Seasoned Flour Mix
In a large bowl, whisk together flour, cornstarch, baking powder, garlic powder, onion powder, smoked paprika, cayenne, salt, and pepper. This seasoned dredge is what makes that golden crust explode with flavor.
🌶 Want more heat? Add extra cayenne or a sprinkle of chili powder here.
4. Dredge for Ultimate Crispiness
Set up your dredging station:
- Bowl 1: buttermilk mixture
- Bowl 2: seasoned flour
Take your mushroom or tofu pieces from the marinade, dip into the flour, back into the marinade, and then again into the flour. Double coating = max crunch.
👩🍳 Don’t rush this step—really press the flour in to create craggy, crispy ridges.
5. Fry to Crispy Perfection
Heat oil in a deep skillet to 350°F (175°C). Carefully add coated pieces, a few at a time, to avoid overcrowding. Fry until deeply golden and crunchy—about 3–4 minutes per side.
Transfer to a wire rack over paper towels to drain.
Common mistake: Don’t let oil drop below 325°F or your nuggets will absorb oil and get soggy.
6. Optional: Air Fry or Bake
No deep fryer? No problem.
- Air fryer: Spray pieces with oil and cook at 375°F for 10–12 min, flipping halfway.
- Oven: Bake at 425°F for 20–25 min, flipping halfway and spraying with oil.
Nutritional Facts (Per Serving)
- Calories: 310
- Protein: 12g
- Carbs: 28g
- Fat: 18g
- Fiber: 3g
- Sugar: 1g
- Sodium: 650mg
Dietery tags: Dairy-free, egg-free, fully plant-based. Can be made gluten-free with GF flour.
Storage and Reheating Tips
If you’ve got leftovers (or if you’re meal-prepping like a queen or king), you’ll be thrilled to know this vegan fried “chicken” freezes beautifully. Simply dredge your pieces as usual, then pop them onto a parchment-lined tray and freeze until solid. Once frozen, transfer them to an airtight container or freezer bag—they’ll keep for up to 2 months. Pro tip: freezing them before frying helps preserve that crispy coating for later without any sogginess.
When it’s time to reheat, you’ve got options—but some are definitely better than others. For that fresh-from-the-fryer crunch, the air fryer is your bestie. Just heat your pieces at 375°F for 6–8 minutes, and they’ll come out hot, crispy, and golden. The oven is another glow-up method—bake at 375°F for about 10–12 minutes, flipping halfway through for even crispiness. If you’re really in a rush, the microwave can work in a pinch, but just know it may soften the crust a bit (still tasty, just not as crunchy). For stovetop lovers, a quick pan-fry on medium heat for 2–3 minutes per side totally brings the texture back to life and gives those edges a little extra sizzle.
No matter how you reheat, always place your pieces on a wire rack or crisp baking tray—not directly on a plate or paper towel. That way, the bottoms stay crunchy and you avoid that dreaded soggy-bottom energy. Because babe, your vegan fried chicken deserves to be crispy all the way. 💅
Reheat:
- Air fryer for 6–8 min at 375°F
- Oven at 375°F for 10–12 min
- Microwave works in a pinch but softens the crust
- Stovetop: Pan-fry on medium for 2–3 min per side
Pro Tip:💡 Always reheat on a rack or crisp surface—not directly on a plate.
Serving Suggestions
This vegan fried chicken isn’t just crispy and crave-worthy—it’s a whole main character moment, and there are so many fab ways to serve it up. Wanna go full Southern brunch glam? Pair it with fluffy waffles and a drizzle of maple syrup for that sweet-n-savory realness. Feeling casual-cute? Slice it up and layer it into a sandwich with crunchy slaw, tangy pickles, and a swipe of vegan mayo—ugh, yes please.
For the ultimate comfort plate, serve it alongside creamy vegan mac and cheese, dreamy mashed potatoes, or garlicky collard greens (swoon). Trying to keep things fresh and fit-ish? Toss it on top of a salad or grain bowl for a plant-based protein boost with serious crunch factor.
Want extra sass? Drizzle your crispy pieces with vegan hot honey or dunk ’em in BBQ ranch for flavor that pops. Whether you’re meal-prepping like a boss, hosting a dinner with friends, or planning a cozy little date night in—this fried chicken is here to serve looks and flavor. 💁♀️💅💥
- Serve hot with waffles and maple syrup for a Southern-style brunch moment
- Slice and stuff in vegan sandwiches with pickles + slaw
- Plate with mac and cheese, mashed potatoes, or collards
- Top salads or grain bowls for a protein punch
- Drizzle with vegan hot honey or BBQ ranch
🎉 Great for parties, date night, or meal prep!
Reader Tips or Helpful Notes
- King Oyster Mushrooms = Chef’s Kiss 🍄
These beauties are the it-girl of plant-based chicken. Their meaty texture and fibrous pull-apart quality give that juicy, satisfying bite. Slice them lengthwise for tender “chicken” strips that shred just like the real deal. - Tofu? Press it like a queen 👑
If you’re using tofu, you must press it well—like, seriously. Wrap it in paper towels and pop something heavy on top for at least 15–30 minutes. This removes excess water and helps it crisp up beautifully, not go soggy on you mid-fry (we do not have time for that). - Double Dipping = Double Drama
For that extra thick, golden crust, dip your pieces in seasoned flour, then buttermilk mixture, and back into the flour again. Yes, it’s a little extra, but babe… so are we. And the crunch payoff? Unreal. - Let the flour mix sit for 5 mins
After seasoning your flour, give it a quick rest before dredging. This tiny pause allows the spices to blend deeper and creates those cute clumpy bits that crisp up into golden crunchy magic. - Don’t overcrowd the pan
Fry in batches, bestie. Too many pieces at once = soggy steam party. Give your mushrooms/tofu space to sizzle and shine. Think of it as VIP section frying—only the crispiest babes allowed. - Add a pinch of turmeric to the flour
Not just for health—it adds a gorgeous golden color that looks chef-level once fried. A little goes a long way, but it gives that warm, sun-kissed glow to your crust. - Freeze now, fry later
Want to save time? You can totally dredge your pieces ahead of time and freeze them uncooked. Just pull them out and fry straight from frozen when you’re ready for a quick crunchy fix. Lazy girl meal prep? Yes please. - Use a thermometer like a pro
Keep that oil between 350–375°F to avoid sad, greasy bites or burnt disasters. A kitchen thermometer keeps things crispy, consistent, and fabulous. - Panko = next-level texture
Want ultra crunch? Mix a little panko into your flour dredge. It adds that airy, crispy coating that sounds as good as it tastes. - Sweet + Spicy Buttermilk Soak? Game changer
Add a little drizzle of maple syrup to your vegan buttermilk soak for that sweet-hot contrast that makes each bite chef’s kiss. It’s subtle, but unforgettable.
Recipe FAQs
Can I make this ahead of time?
Yes! Dredge the pieces and refrigerate up to 24 hours before frying.
Can I freeze it?
Freeze before frying for best results. Reheat from frozen in air fryer or oven.
Is it spicy?
You control the heat. Add or omit cayenne and hot sauce as needed.
What’s the best protein to use?
King oyster mushrooms give the meatiest texture, but tofu and seitan work great too!
Can I bake instead of fry?
Yes! Bake at 425°F for 20–25 min, flipping and oil-spritzing halfway.
Can I scale this for a party?
Absolutely. Double or triple all ingredients and keep warm in a low oven during serving.
Conclusion
If you’ve been searching for that perfect vegan fried chicken recipe that actually lives up to the hype—this is it. Whether you’re craving comfort food, impressing non-vegan friends, or just treating yourself to something amazing, this recipe brings the crunch, the flavor, and the pure satisfaction.
I’d love to hear how it turns out! Leave a review, drop your tweaks in the comments, and don’t forget to tag @TheTrendyMenu if you post your creation. ✨ Sharing is caring, and this is definitely a recipe worth sharing!
Printable Recipe Card
Want just the essential recipe details without scrolling through the article? Get our printable recipe card with just the ingredients and instructions.


Comments