
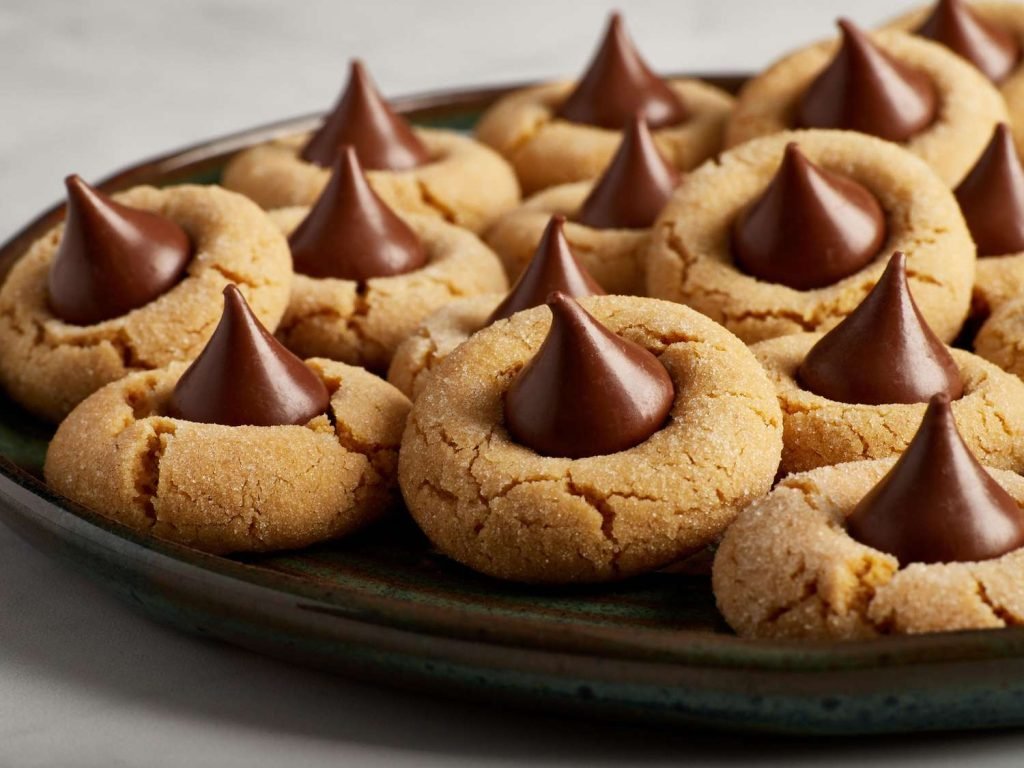
Indulge in the magic of the holidays with these easy, melt-in-your-mouth Peanut Butter Blossoms. A perfect blend of creamy peanut butter and sweet chocolate, these cookies are not only a classic but also a breeze to whip up, making them a favorite for gatherings and festive celebrations!
Budget Information
The total cost to whip up a batch of these delightful Peanut Butter Blossoms is approximately $9.00. With about 24 cookies in a batch, that breaks down to just $0.38 per serving. Sweet, isn’t it?
Why This Recipe Works
Peanut Butter Blossoms are a holiday staple that never disappoints! The combination of soft, chewy peanut butter cookies with a melty chocolate center is simply irresistible. Plus, they’re incredibly easy to make, which means you can bake a batch without spending an entire day in the kitchen. Perfect for those busy holiday times, right?
Ingredients + Optional Substitutions
Here’s what you’ll need to create these delicious treats:
- 1 cup Shortening – $2.50 (can substitute with unsalted butter)
- 1 cup Granulated Sugar – $0.50
- 1 cup Packed Brown Sugar – $0.60
- 1 cup Peanut Butter – $1.50 (try using crunchy for extra texture)
- 2 Eggs – $0.30
- 1/4 cup Milk – $0.10
- 1 teaspoon Vanilla Extract – $0.70
- 2 3/4 cups All-Purpose Flour – $0.90
- 2 teaspoons Baking Soda – $0.05
- 1/2 teaspoon Salt – $0.01
- 24 Chocolate Kisses – $2.50
Step-by-Step Recipe Instructions
Step 1: In a large mixing bowl, start by creaming together the shortening, granulated sugar, and brown sugar until the mixture becomes light and fluffy. Just imagine the sweet aroma wafting through your kitchen as you mix—yum!
Step 2: Add in the peanut butter and mix well until fully combined. The texture should be smooth and velvety, almost like a spreadable dream!
Step 3: Crack the eggs into the mixture one at a time, mixing thoroughly after each addition. Then, stir in the milk and vanilla extract to enhance that luscious flavor.
Step 4: In a separate bowl, whisk together the all-purpose flour, baking soda, and salt. Gradually add this dry mixture to your peanut buttery goodness, mixing until everything is just combined. Be gentle so you don’t overwork the dough!
Step 5: Preheat your oven to 375°F (190°C) and line two baking sheets with parchment paper. Roll the dough into 1-inch balls and place them on the prepared baking sheets, leaving a couple of inches in between each ball for spreading.
Step 6: Roll each dough ball in a bowl of granulated sugar for a sparkling finish, then bake those beauties in the preheated oven for about 10 to 12 minutes, or until the edges are lightly browned. Sit back and savor the heavenly smell wafting through your home!
Step 7: As soon as you take them out of the oven, press a chocolate kiss firmly into the center of each cookie while they are still warm. Watch as the chocolate gently melts into a delightful pool of sweetness!
Step 8: Let the cookies cool on a wire rack. And just like that, your scrumptious peanut butter blossoms are ready for sharing (or savoring all yourself)!
Nutritional Facts
Here’s the nutritional breakdown per cookie:
- Calories: 120
- Protein: 2g
- Carbohydrates: 15g
- Total Fats: 7g
- Saturated Fat: 2g
- Fiber: 1g
- Sugar: 6g
- Sodium: 90mg
Storage and Reheating Tips
To keep those cookies fresh and delicious, allow them to cool completely before transferring them to an airtight container. Store them at room temperature, where they’ll stay delightful for about three days. If you want to keep them longer, you can freeze the dough balls before baking them. They’ll last for up to three months—just bake them fresh when the craving hits!
Serving Suggestions
Serve these heavenly cookies with a tall glass of milk or a steaming cup of hot cocoa for the ultimate treat! They’re also fantastic as a gift for neighbors or as a sweet addition to holiday cookie trays. Don’t forget to share with friends—they might just ask for the recipe!
Reader Tips or Helpful Notes
You can easily make these cookies gluten-free by using a gluten-free flour blend. For an even richer flavor, consider using dark chocolate kisses or adding a sprinkle of sea salt on top after baking. And if you want to experiment, try mixing in some chopped nuts or chocolate chips into the dough for a little extra flair!
Recipe FAQs
Can I use natural peanut butter? Yes, but keep in mind that natural peanut butter may make your cookies slightly drier. You might want to add a bit more milk to the dough.
How do I make these cookies ahead of time? You can prepare the dough in advance and refrigerate it for up to two days before baking. Just bring the dough to room temperature before rolling into balls and baking.
What if I don’t have shortening? Unsalted butter works perfectly as a substitute, but it will change the texture slightly, making them a bit chewier.
Can I use different kinds of chocolate? Absolutely! Feel free to use any chocolate candy you love—Einstein’s or caramel-filled chocolates work great too!
How do I keep my cookies soft after baking? Store them in an airtight container with a slice of bread. The bread will keep the cookies moist and delicious!
